Please fill out the form below to request a quote or to request more information about us. please be as detailed as possible in your message, and we will get back to you as soon as possible with a response. we're ready to start working on your new project, contact us now to get started.
Top Tips for Successfully Replacing Your BMW Rear Bumper
2026-08-21
Maxdo
45
Did you know that a well-maintained exterior can significantly boost your car's value? Maintaining your BMWs rear bumper is crucial for both safety and appearance. A fresh, properly installed rear bumper can transform your cars overall look and enhance its functionality. Lets dive into the steps to replace your BMWs rear bumper with confidence.
The Importance of Rear Bumper Replacement
Did you know that a well-maintained exterior can significantly boost your car's value? A fresh, properly installed rear bumper not only enhances your BMWs aesthetic but also ensures its safety and functionality. Whether youve been in an accident or simply want to refresh your cars look, this guide will walk you through the process step-by-step.
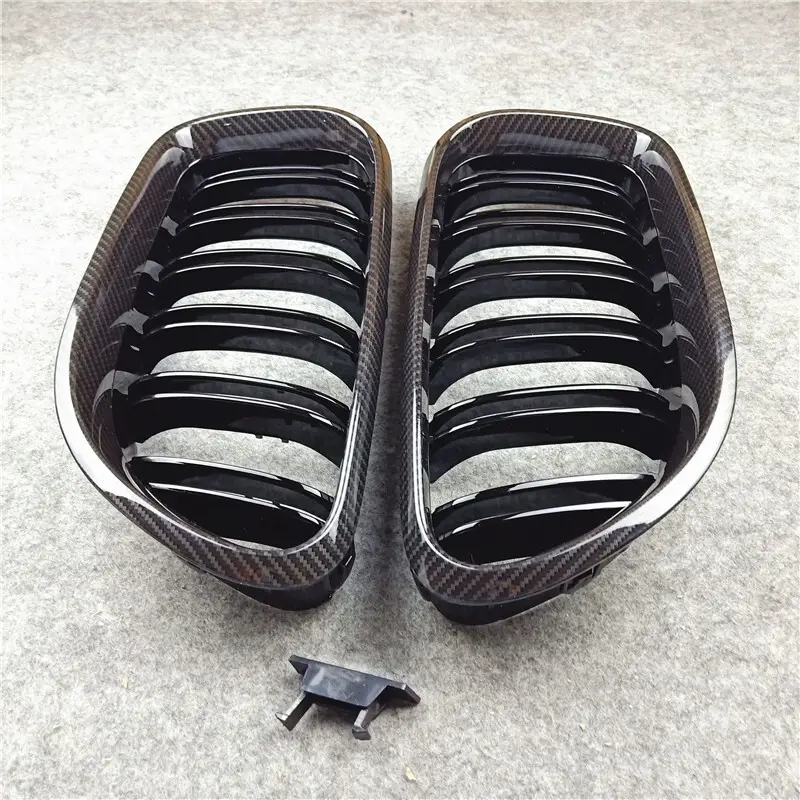
Choosing the Right Bumper: Compatible, Safe, and Reliable
When it comes to choosing the right bumper, compatibility and quality are key. OEM parts are a safe bet, but third-party options can offer unique benefits. Lets break it down:
- Material Options:
- Polycarbonate: Lightweight and durable, suitable for modern BMWs.
- ABS (Acrylonitrile Butadiene Styrene): Strong and flexible, ideal for older models.
- Compatibility:
- Ensure the bumper fits your specific BMW model. A mismatch can cause improper alignment and functionality issues.
- Quality Check:
- Look for parts that match the original fit and finish. OEM parts are often recommended due to their exact fit and longevity.
Preparing for Installation
Before you start, gather your tools and ensure your workspace is organized and safe:
- Tools Needed:
- Jack stands
- Gloves
- Workbench
- Socket wrench set
- Torque wrench
- Safety Precautions:
- Firmly secure your vehicle using jack stands. Position them correctly to prevent accidents.
- Ensure the work area is free of clutter and well-lit.
Removing the Old Bumper
Carefully detach the old bumper to prevent damage:
- Step-by-Step Guide:
1. Lift the Vehicle: Place jack stands under the car and lift it.
2. Identify Connections: Disconnect any electrical components, sensors, and hoses.
3. Remove Fasteners: Loosen and remove all bolts and brackets holding the bumper in place.
4. Gently Lift: Use jack stands to gently lift the bumper and support it securely.
Installing the New Bumper
Proper installation is crucial for a seamless result:
- Step-by-Step Guide:
1. Align the Bumper: Ensure it fits the original dimensions.
2. Attach Fasteners: Attach the bumper using pre-drilled holes and secure it with appropriate clamps or brackets.
3. Tighten Bolts: Ensure all bolts are tightened to the manufacturers specifications using a torque wrench.
4. Test the Bumper: Ensure it operates smoothly and functions correctly.
Post-Installation Checks
After installation, a thorough check is essential:
- Testing Electrical Connections:
- Ensure that all lights, sensors, and other features are working properly.
- Test the functionality of the bumper, including lights and any integrated sensors.
- Fine-Tuning the Bumper:
- Adjust the bumper for a perfect fit and alignment. Use jack stands if needed to fine-tune.
Avoiding Common Mistakes
Common errors can ruin an otherwise successful installation:
- Example of a Common Mistake:
- Mismatched Installation: An incorrectly installed bumper can lead to improper alignment and functionality issues. Always double-check the fit and alignment before securing.
Maintenance Tips
Regular maintenance ensures your bumper stays in top condition:
- Inspection and Cleaning:
- Inspect the bumper for scratches and signs of wear regularly.
- Clean the bumper every few months to prevent dirt and grime buildup.
- Protection:
- Store the bumper in a protective case when not in use.
- Consider applying a protective spray to safeguard against environmental factors.
The Final Touch
Proper bumper installation isn't just about aestheticsit's about safety, functionality, and maintaining your car's value. By following these steps, you can ensure your BMWs rear bumper looks and functions as good as new. Take the time to get it right, and your car will stand out on the road.
By mastering these steps, youll not only enhance your BMWs appearance but also ensure its performance and safety. Happy replacing!
GET IN TOUCH WITH Us
Copyright © 2026 Shenzhen Maxdo Automotive Parts Co., Ltd. - www.maxdoexhaust.com | Sitemap | privacy policy